Disk images
WiNspire needs a flat raw IDE disk image (.img) with an MBR and active partition. Simply renaming an ISO, VHD, VHDX, etc. won't do.
Some useful resources
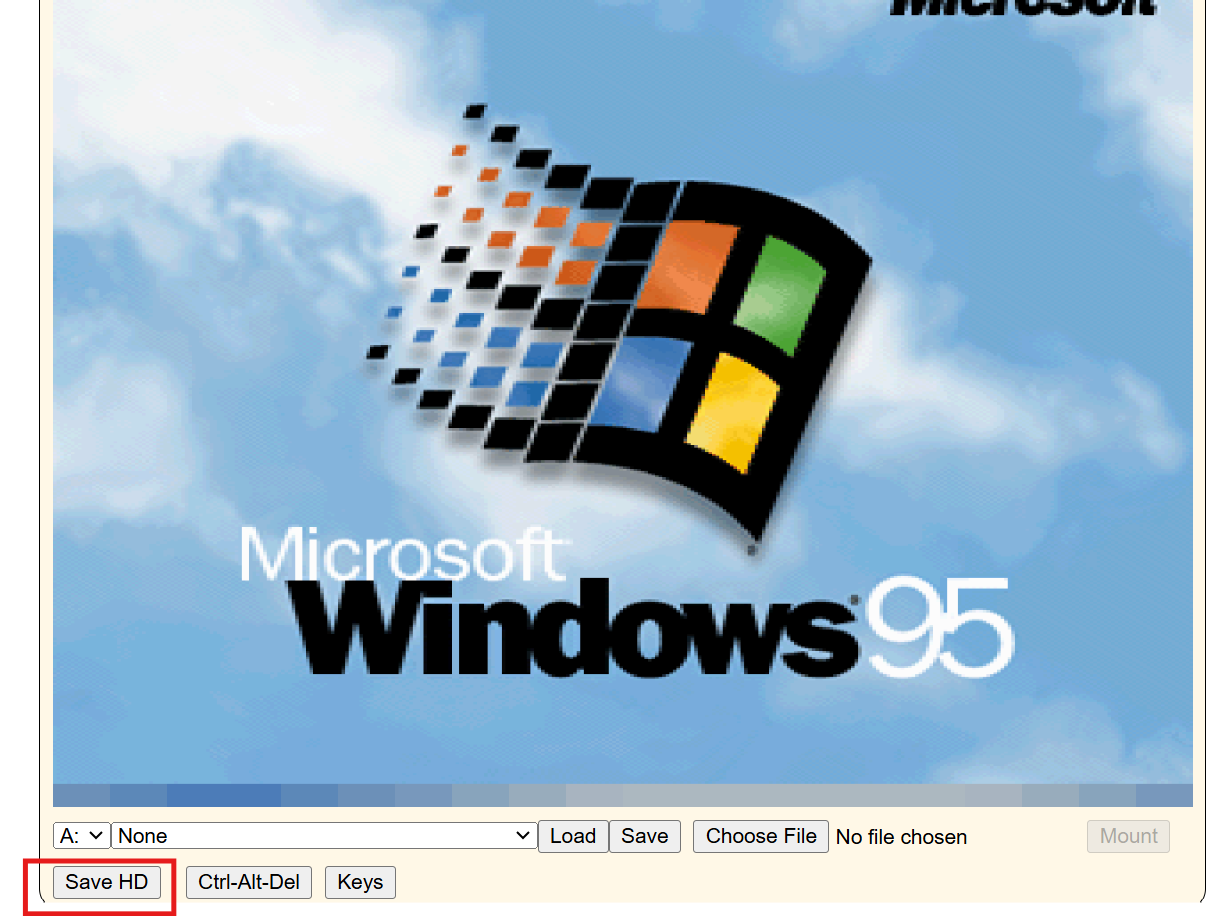
PCjs Machines has disk images for Windows 1.x through 95 compatible with WiNspire. Simply navigate to the version of Windows catching your fancy and click SAVE HD.
Make your own disk image from install media
First, source your installation media (ISOs, floppies, etc.).
WinWorldPC and the Internet Archive have a good collection of installation media for various Windows releases.
Install QEMU
Install QEMU and add it to your PATH.
Verify with:
qemu-img --version
qemu-system-i386 --version
Creating a disk image with QEMU
Create a flat raw image:
qemu-img create -f raw windows.img 2G
Boot install media
Replace windows-install.iso with the filename of your ISO, then run:
qemu-system-i386 -m 64 -cpu pentium -drive file=windows.img,format=raw -cdrom windows-install.iso -boot d -nic none -machine pc,accel=tcg,acpi=off,hpet=off
Proceed normally with Windows setup.
Many Win9x install CDs are not bootable. Boot from the accompanying boot floppy instead:
qemu-system-i386 -m 64 -cpu pentium -drive file=windows.img,format=raw -drive file=windows-floppy.img,format=raw,if=floppy -cdrom windows-install.iso -boot a -nic none -machine pc,accel=tcg,acpi=off,hpet=off
Replace windows-floppy.img with the filename of your floppy.
Continue with setup as usual.
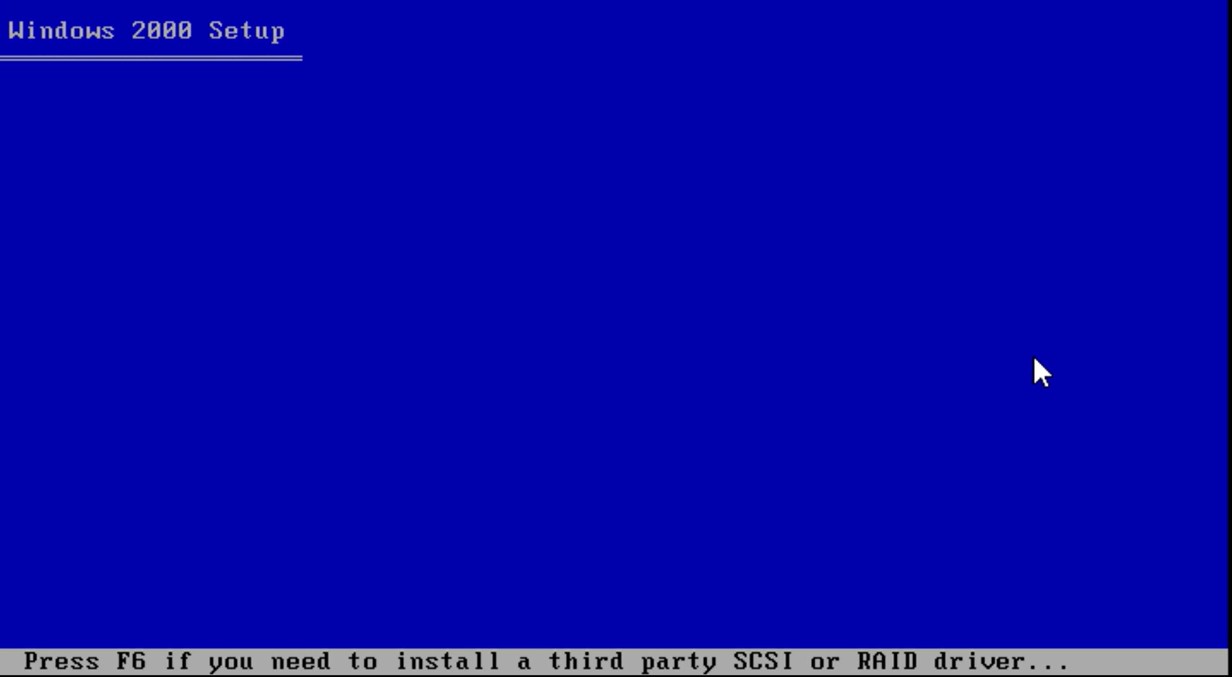
Complete the first boot and shut Windows down normally. The resulting disk image is ready to use!
Windows 1.x through 3.x
Windows 1.x through 3.x install on top of DOS. Create the hard disk using the instructions above and install DOS to it first and then install Windows. It is much simpler to use the PCjs images directly.
Converting another format to RAW
If you already possess an existing VDI, VHD, VHDX, VMDK, or QCOW2 disk image, you can convert it to RAW using
qemu-img convert -p -f existing_format -O raw existing_filename windows.img
Replace the existing_format and existing_filename placeholders.
Use your created image with WiNspire!
XP Embedded
Creating an XP Embedded image is a slightly different process. Follow the instructions at Creating an XPe image